RabbitMQCTL
Updated on 20 Sep 2023
rabbitmqctl - creating vhosts and users
Next we need to create vhosts and users. A vhost is like a virtual host in Apache, but it is used for RabbitMQ. I.e. we will create a vhost called demo_host, and we’ll see how that is used in code a little later on.
We are going to be using
rabbitmqctl add_vhostrabbitmqctl add_user
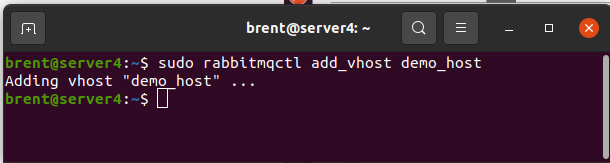
sudo rabbitmqctl add_vhost demo_host
sudo rabbitmqctl add_user demo_user demo_pass

Other commands available to remove the vhosts and users are
rabbitmqctl delete_vhostrabbitmqctl delete_user
rabbitmqctl - setting permissions
Now that the users and vhosts have been created, we need to set some permissions. In particular our demo_user needs access to demo_host
sudo rabbitmqctl set_permissions -p demo_host demo_user ".*" ".*" ".*"

rabbitmqctl - set user tags
This is necessary if we want to access the GUI from the web browser. I also believe that this is necessary if you want to run the CLI commands, rabbitmqadmin (discussed later).
sudo rabbitmqctl set_user_tags demo_user administrator