Installing RabbitMQ
Updated on 20 Sep 2023
In this step by step guide we will learn how to install Rabbitmq, send messages from the command line (PHP and Python), and receive messages on the browser. Then we’ll step it up a gear and do it over SSL.
Installing Rabbitmq and plugins Management Console rabbitmqctl - creating vhosts and users rabbitmqctl - setting permissions rabbitmqctl - set user tags rabbitmq-diagnostics rabbitmq-diagnostics listeners rabbitmqadmin
Installing Rabbitmq and plugins
Install rabbitmq with the following command
sudo apt-get install rabbitmq-server
We will also enable some necessary plugins
 sudo rabbitmq-plugins enable rabbitmq_stomp
 sudo rabbitmq-plugins enable rabbitmq_web_stomp
 sudo rabbitmq-plugins enable rabbitmq_management
Once we have enabled the plugins, we need to restart.
sudo systemctl restart rabbitmq-server
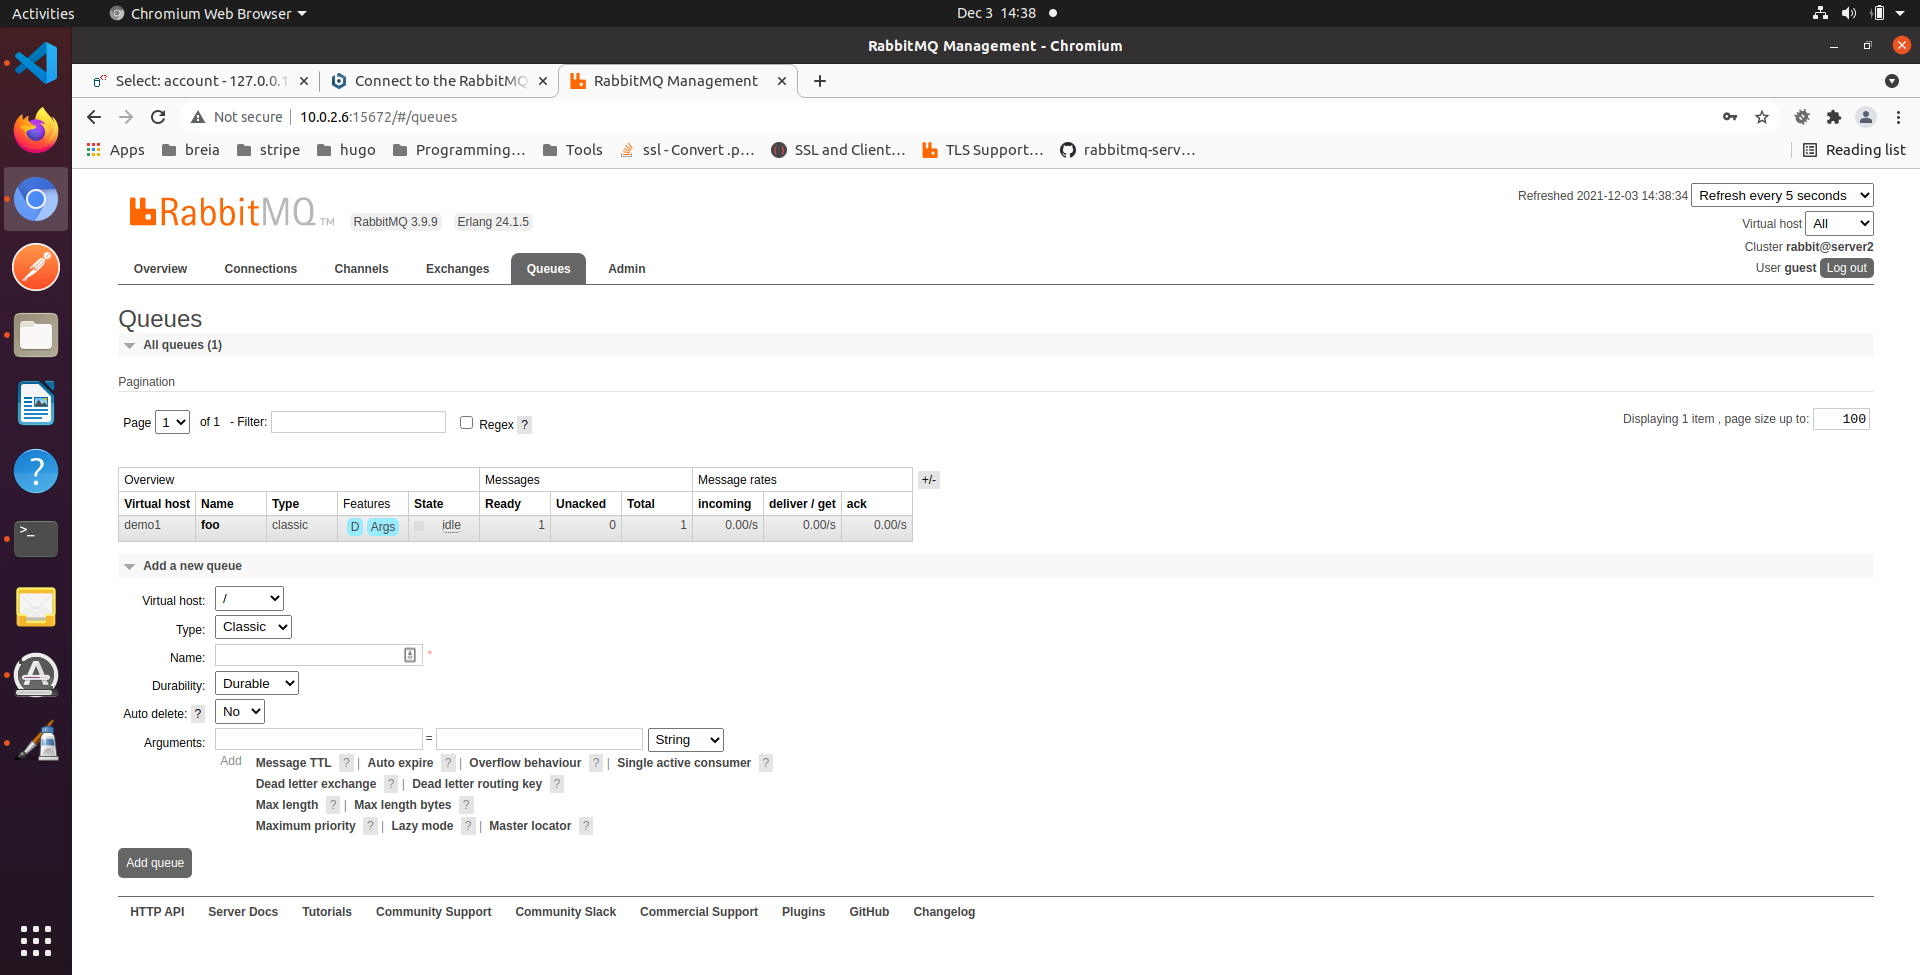
Management Console
If this has been installed on a local computer, you will be able to access the management console via a browser. However, you will need to set the user_tags first.
http://localhost:15672
rabbitmqctl - creating vhosts and users
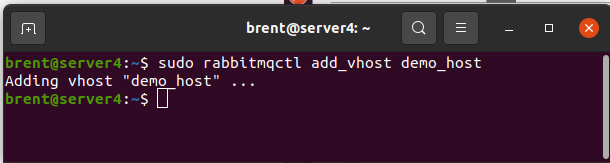
Next we need to create vhosts and users. A vhost is like a virtual host in Apache, but it is used for RabbitMQ. I.e. we will create a vhost called demo_host, and we’ll see how that is used in code a little later on.
We are going to be using
rabbitmqctl add_vhostrabbitmqctl add_user
sudo rabbitmqctl add_vhost demo_host
sudo rabbitmqctl add_user demo_user demo_pass

Other commands available to remove the vhosts and users are
rabbitmqctl delete_vhostrabbitmqctl delete_user
rabbitmqctl - setting permissions
Now that the users and vhosts have been created, we need to set some permissions. In particular our demo_user needs access to demo_host
sudo rabbitmqctl set_permissions -p demo_host demo_user ".*" ".*" ".*"

rabbitmqctl - set user tags
This is necessary if we want to access the GUI from the web browser. I also believe that this is necessary if you want to run the CLI commands, rabbitmqadmin (discussed later).
sudo rabbitmqctl set_user_tags demo_user administrator