Install phpMyAdmin
Updated on 18 Feb 2020
Installing phpMyAdmin
Installing phpMyAdmin can be done with apt-get.
sudo apt-get update
sudo apt-get install phpmyadmin
This installation will present you with a few screens to interact with. Press the Tab key to highlight the <Ok> and press the Enter key.
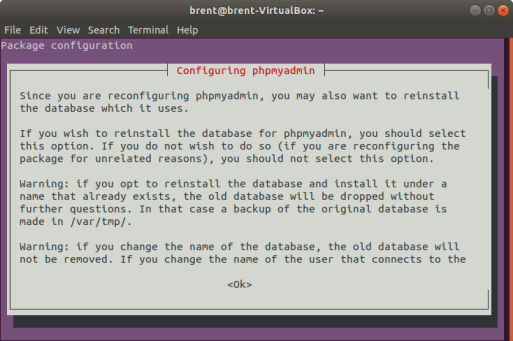
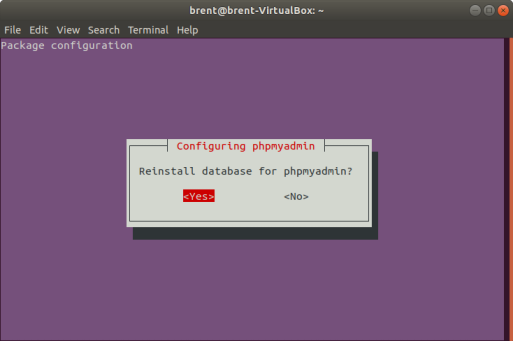
Install database for phpMyAdmin
You’ll be asked if you want to install a database for phpMyAdmin. You should say yes.
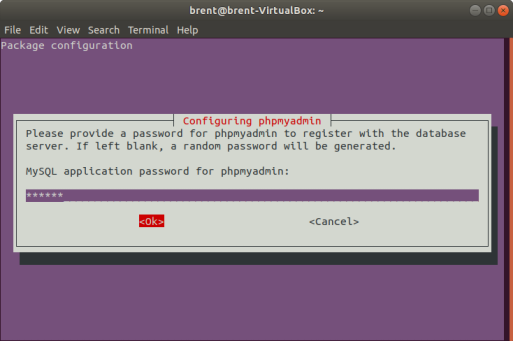
Supply password
This is only for phpMyAdmin to interact with the database. You can put any random characters in here that you want.
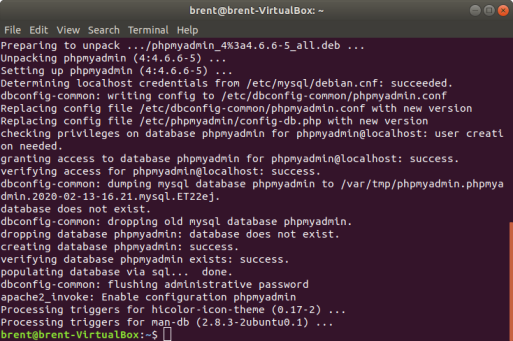
Finish Installing
Once you’ve put the password in (and confirmed it), the installation should complete. You should get messages similar to what is shown below.
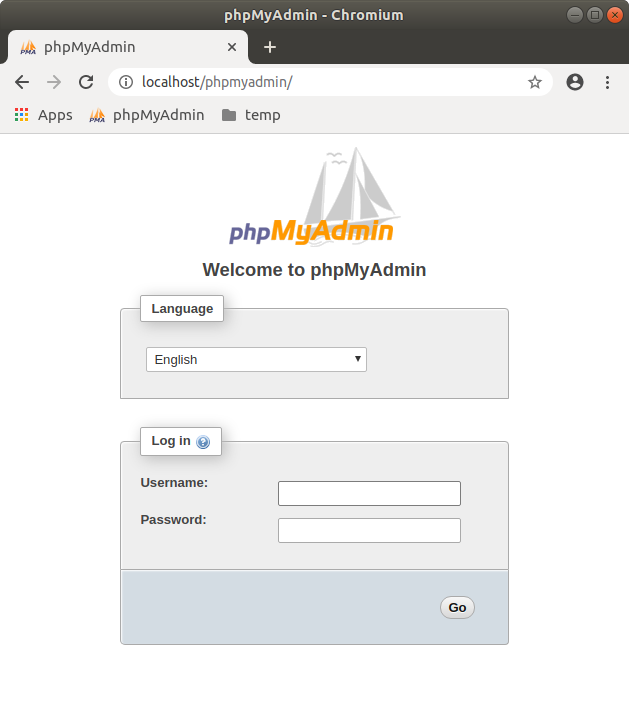
Accessing phpMyAdmin
If everything has been installed properly, then you should be able to access phpMyAdmin at http://localhost/phpmyadmin
Errors in phpMyAdmin
There is a chance that there may be incompatibilities between phpMyAdmin, PHP and mySQL. In that case you’ll get some horrible messages.
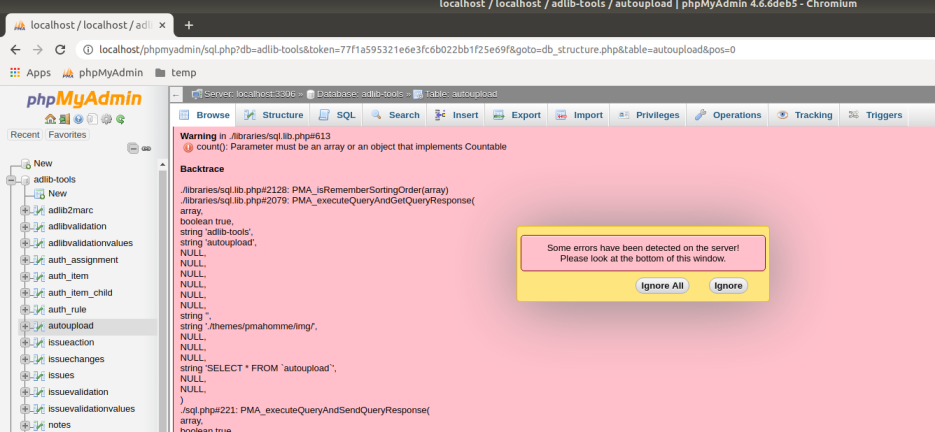
Usually the best way to deal with the issue is to upgrade your phpMyAdmin.